Chat interactions
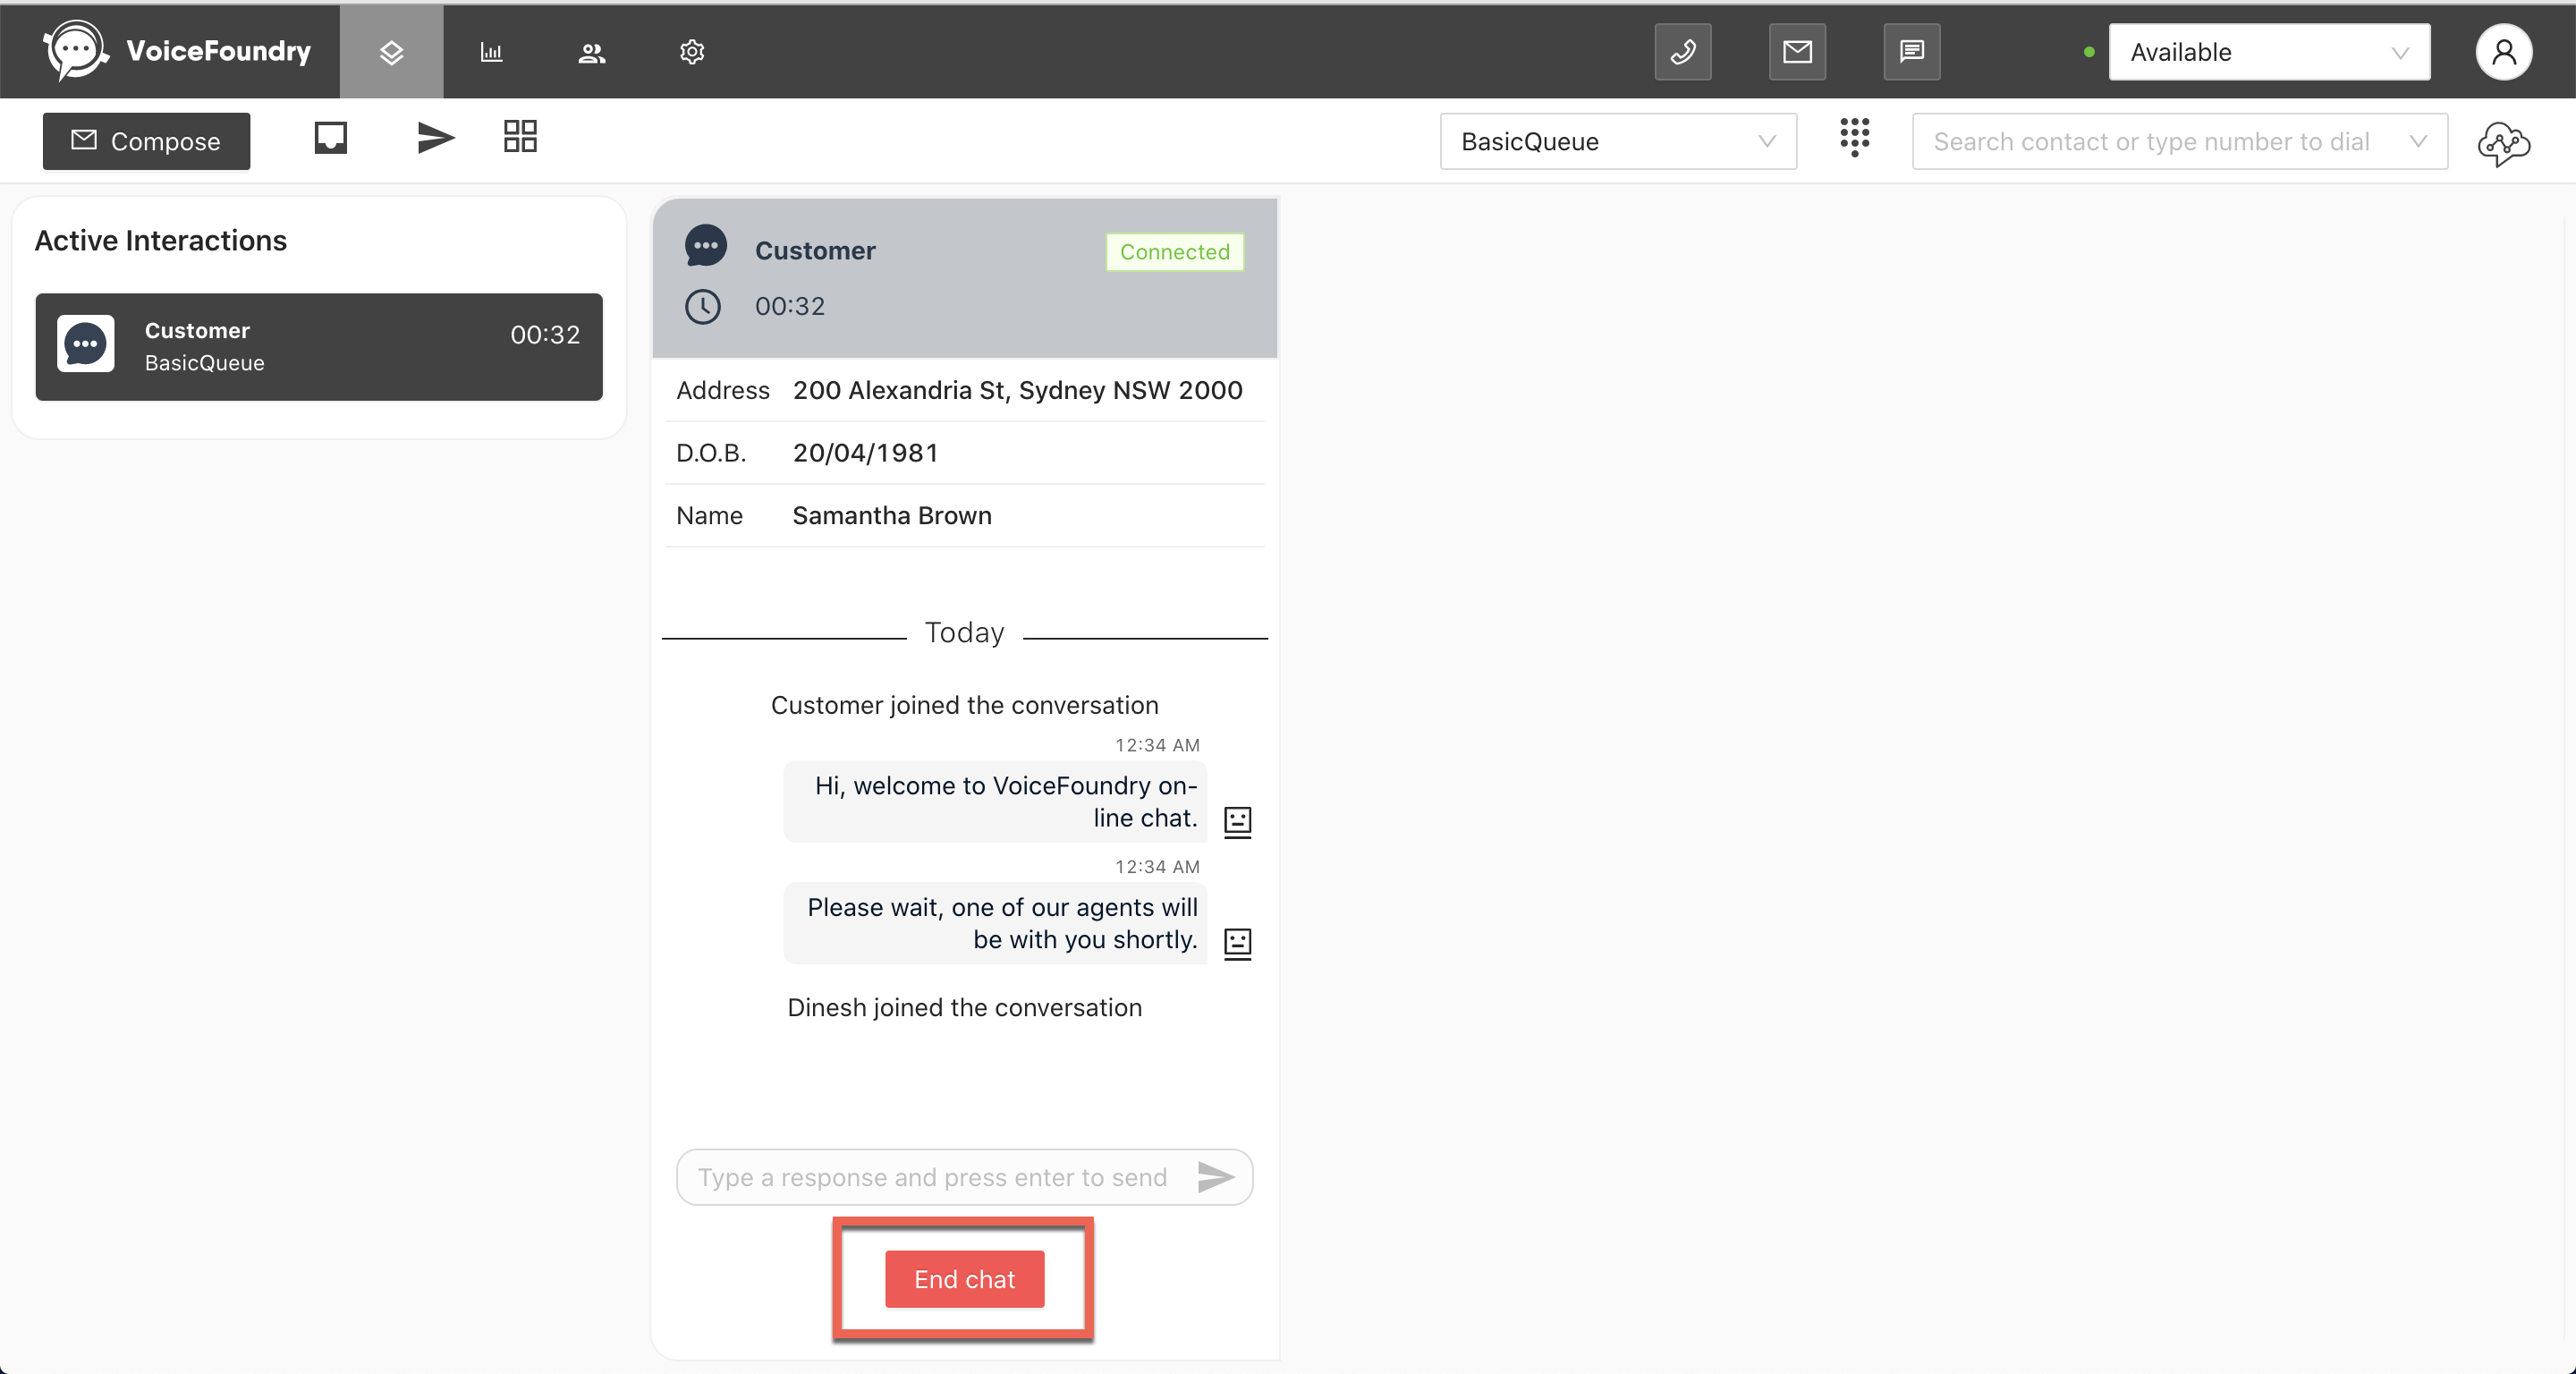
A chat interaction will display the following:
The customer's messaging platform (e.g. WhatsApp, web chat).
Customer's name (if available).
Total time elapsed in chat interaction.
Queue name.
Any contact attribute that has a value.
Responding to a customer
Within the text area, type your response and press enter to send a message.
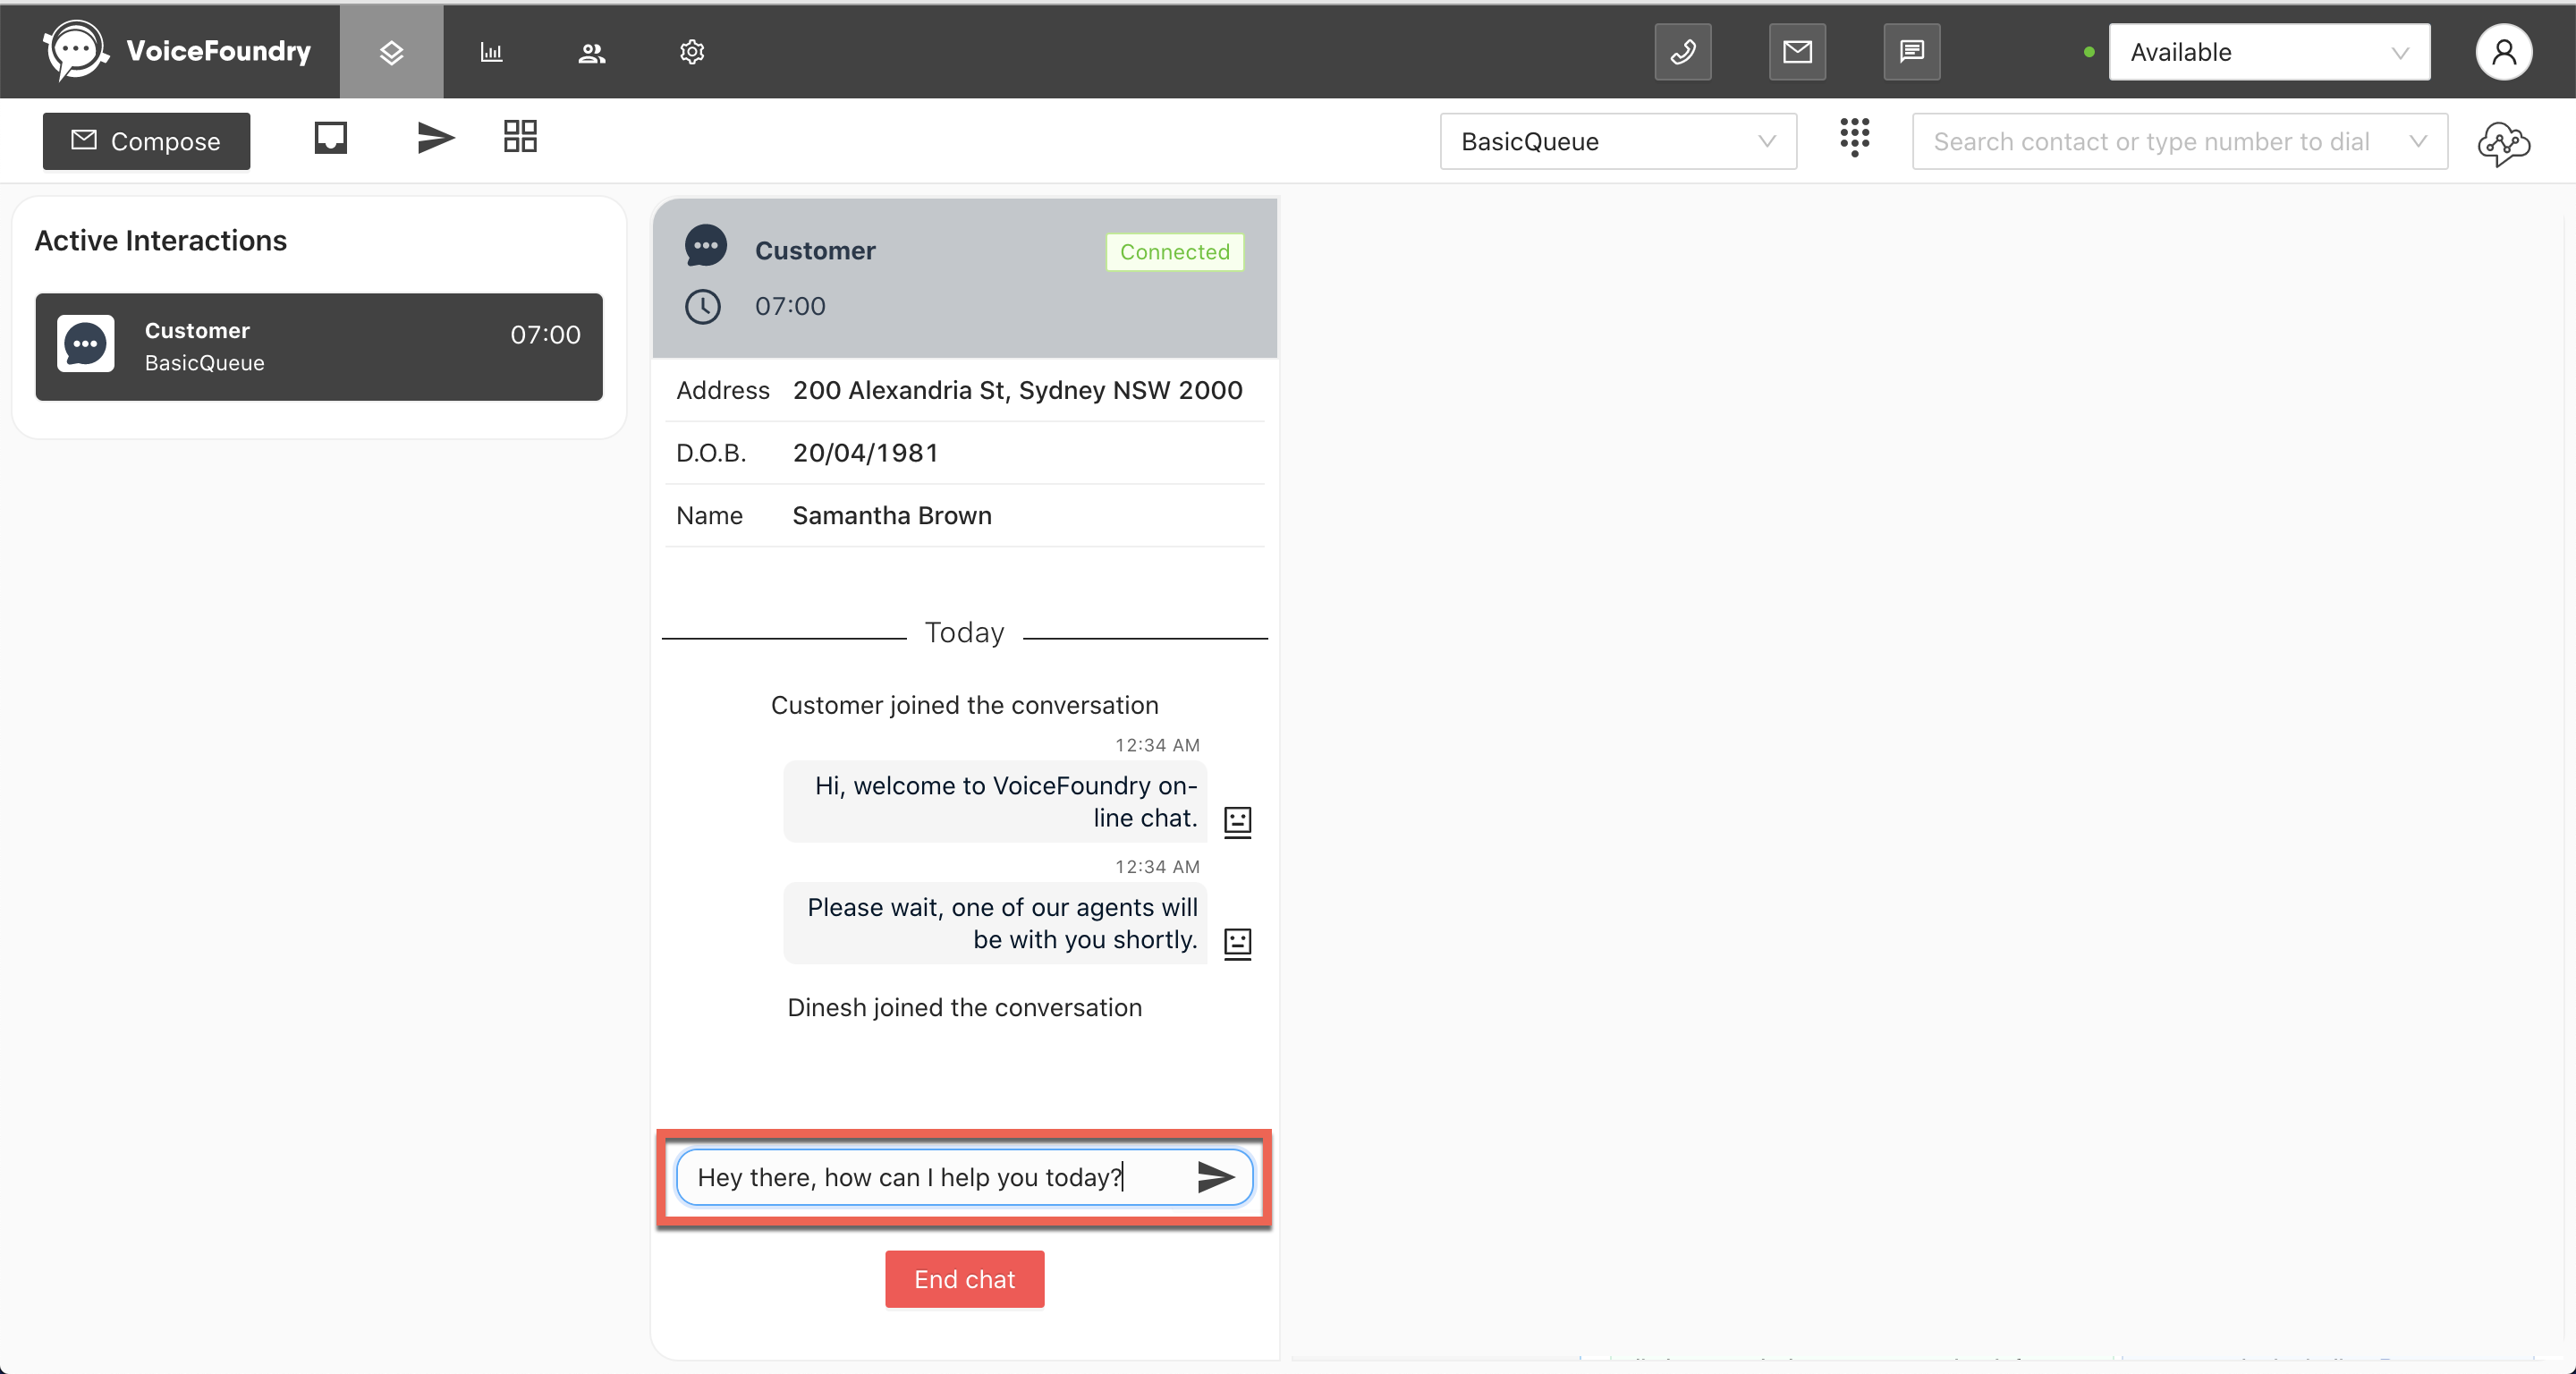
Hint: to enter text in a new line, press shift + enter.
Add a message template
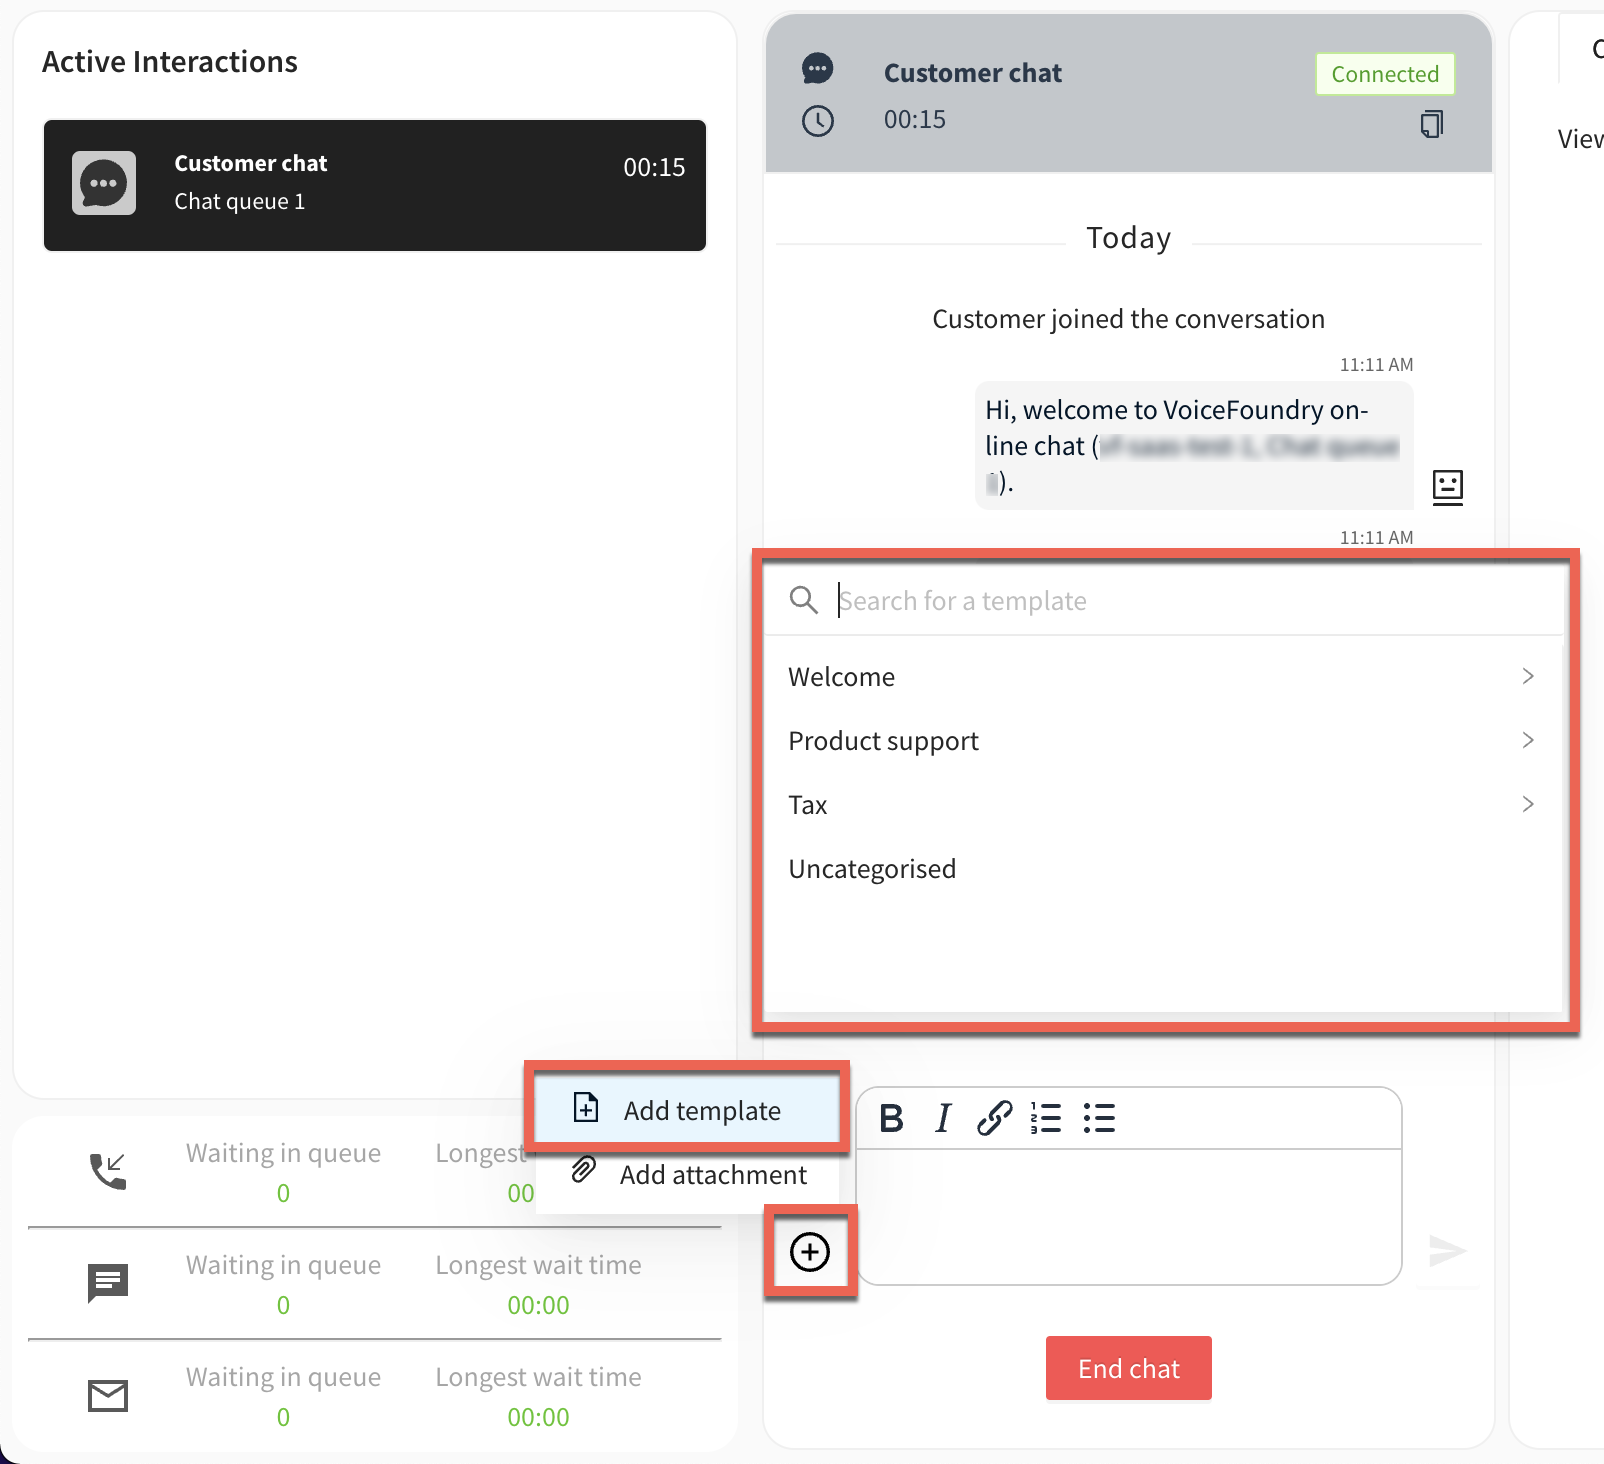
You can also add a template when responding to a customer. To do so click on the + button within the contact card and select Add template. You can either select a template from this list or you can start typing the name of the message template to filter through the list.
Add an attachment to a message
You can send and receive attachments for chat interactions in the Agent Desktop.
You can send and receive up to a total of 35 attachments in a single chat interaction.
The following file types are supported for chat attachments: .csv, .doc, .docx, .jpeg, .jpg, .pdf, .png, .ppt, .pptx, .txt, .wav, .xls & .xlsx.
The maximum file size for a single attachment is 20MB.
Chat attachments will need to be enabled in your account before you can use this feature. Speak to your administrator for assistance.
To add an attachment:
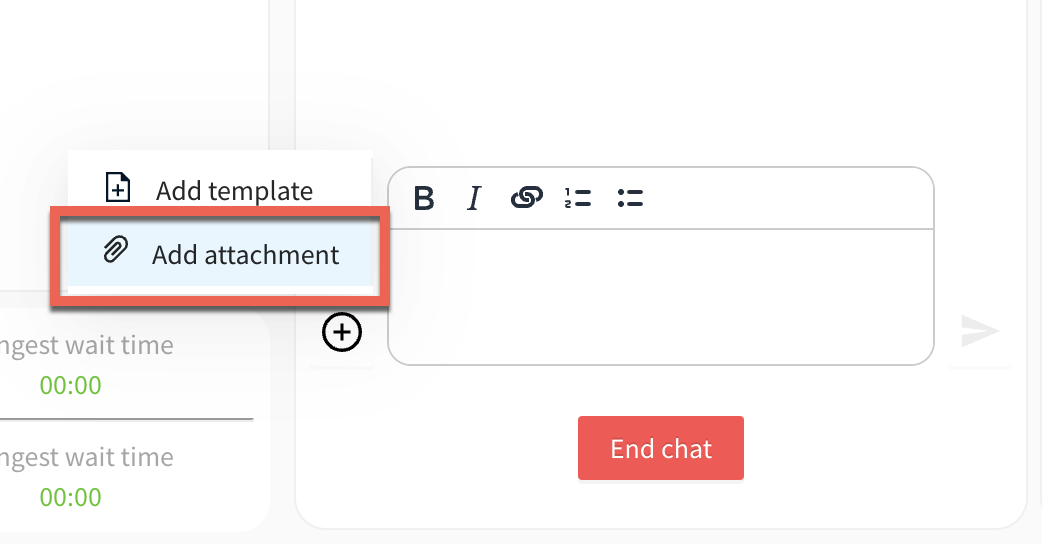
Click on the + button within the contact card and select Add attachment.
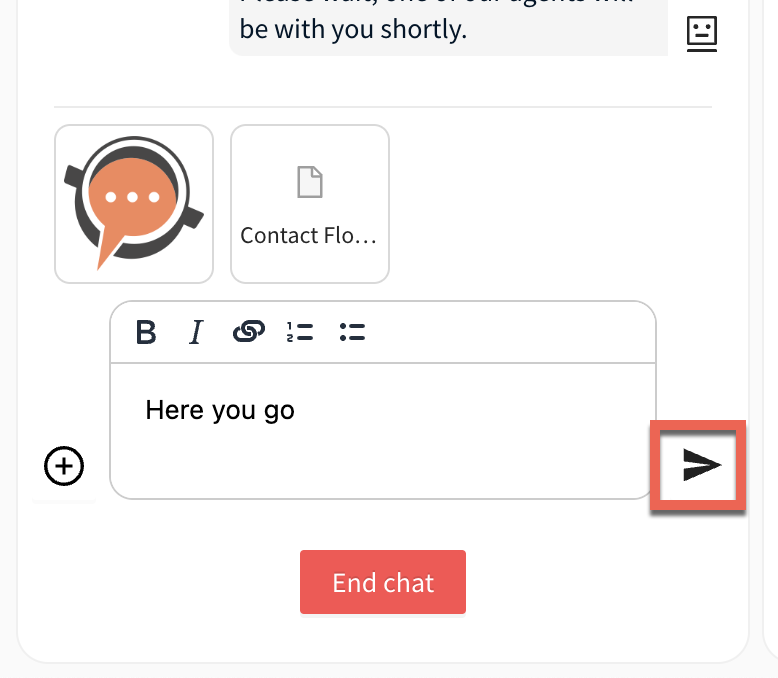
Select the file(s) you want to upload through the finder window.
Wait for your files to upload, then click on the Send button.
Download an attachment
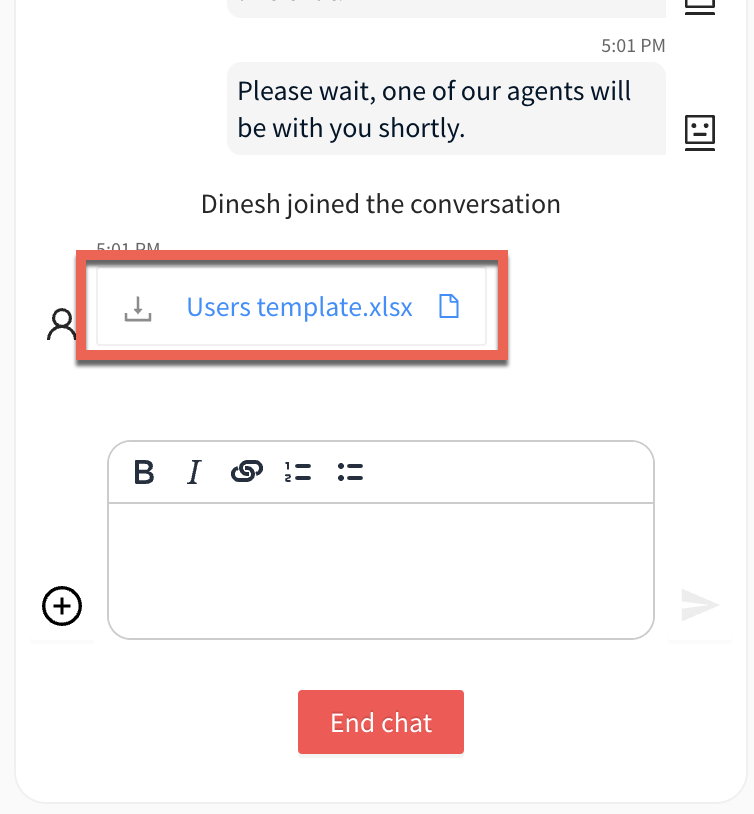
To download a received attachment, click on the attachment thumbnail within the chat history and the file will download to your desktop.
Add formatting to messages
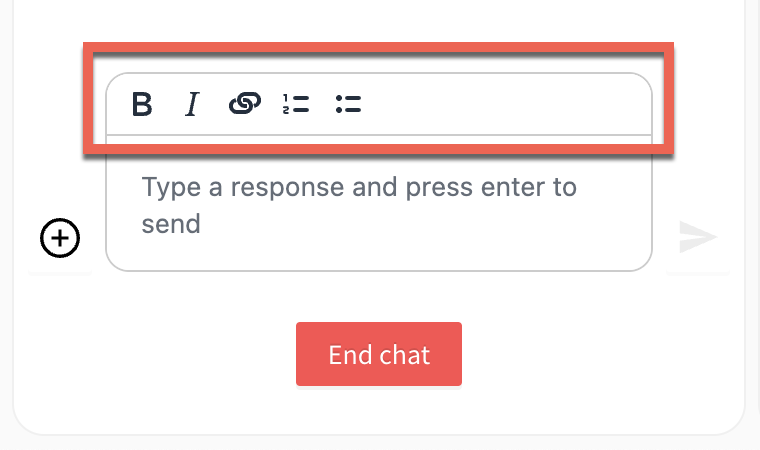
You can add the following formatting to your chat messages:
Bold
Italics
Links
Numbered list
Bulleted list
Chat formatting will need to be enabled in your account before you can use this feature. Speak to your administrator for assistance.
If formatting has been enabled in your account, a toolbar will appear within the chat textbox.
Transfer a chat
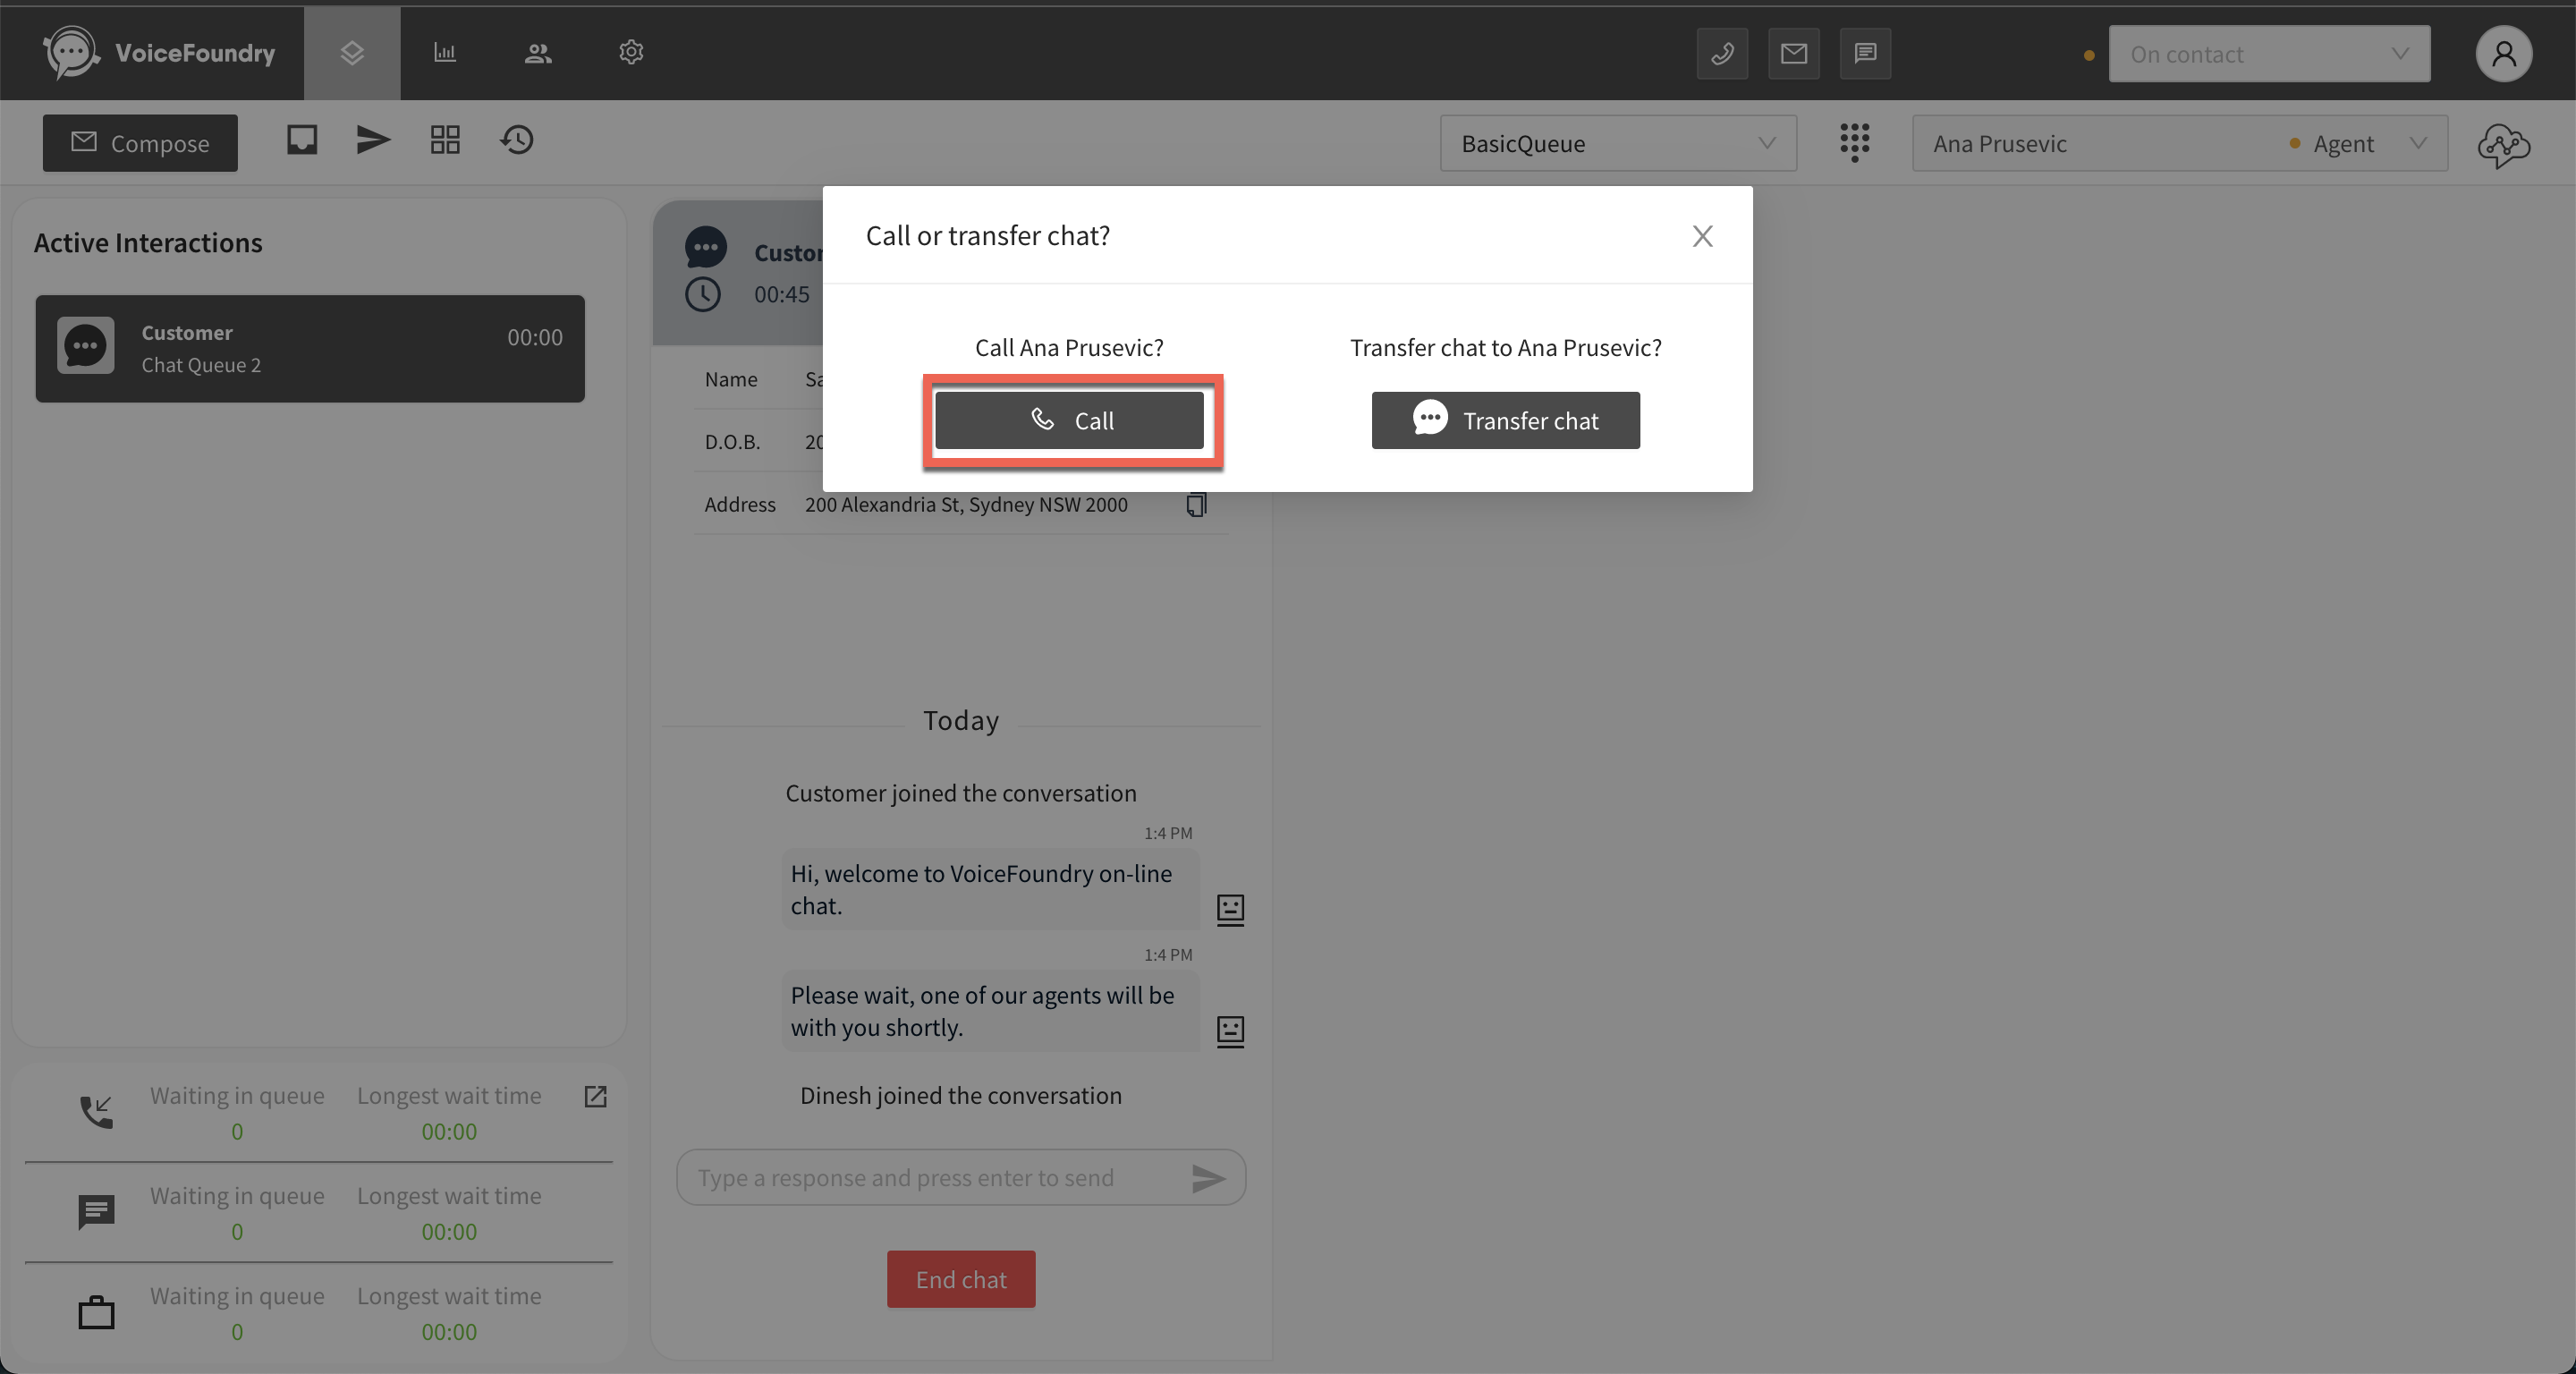
Transfer a chat through the phone directory.
Click on the contacts dropdown.
Search for and select an
agent or queue.

Tip: To filter to specific contacts within the directory, use the following shortcuts
Type a: to display agent contacts only
Type q: to display queue contacts only
Click on
Transfer chat.
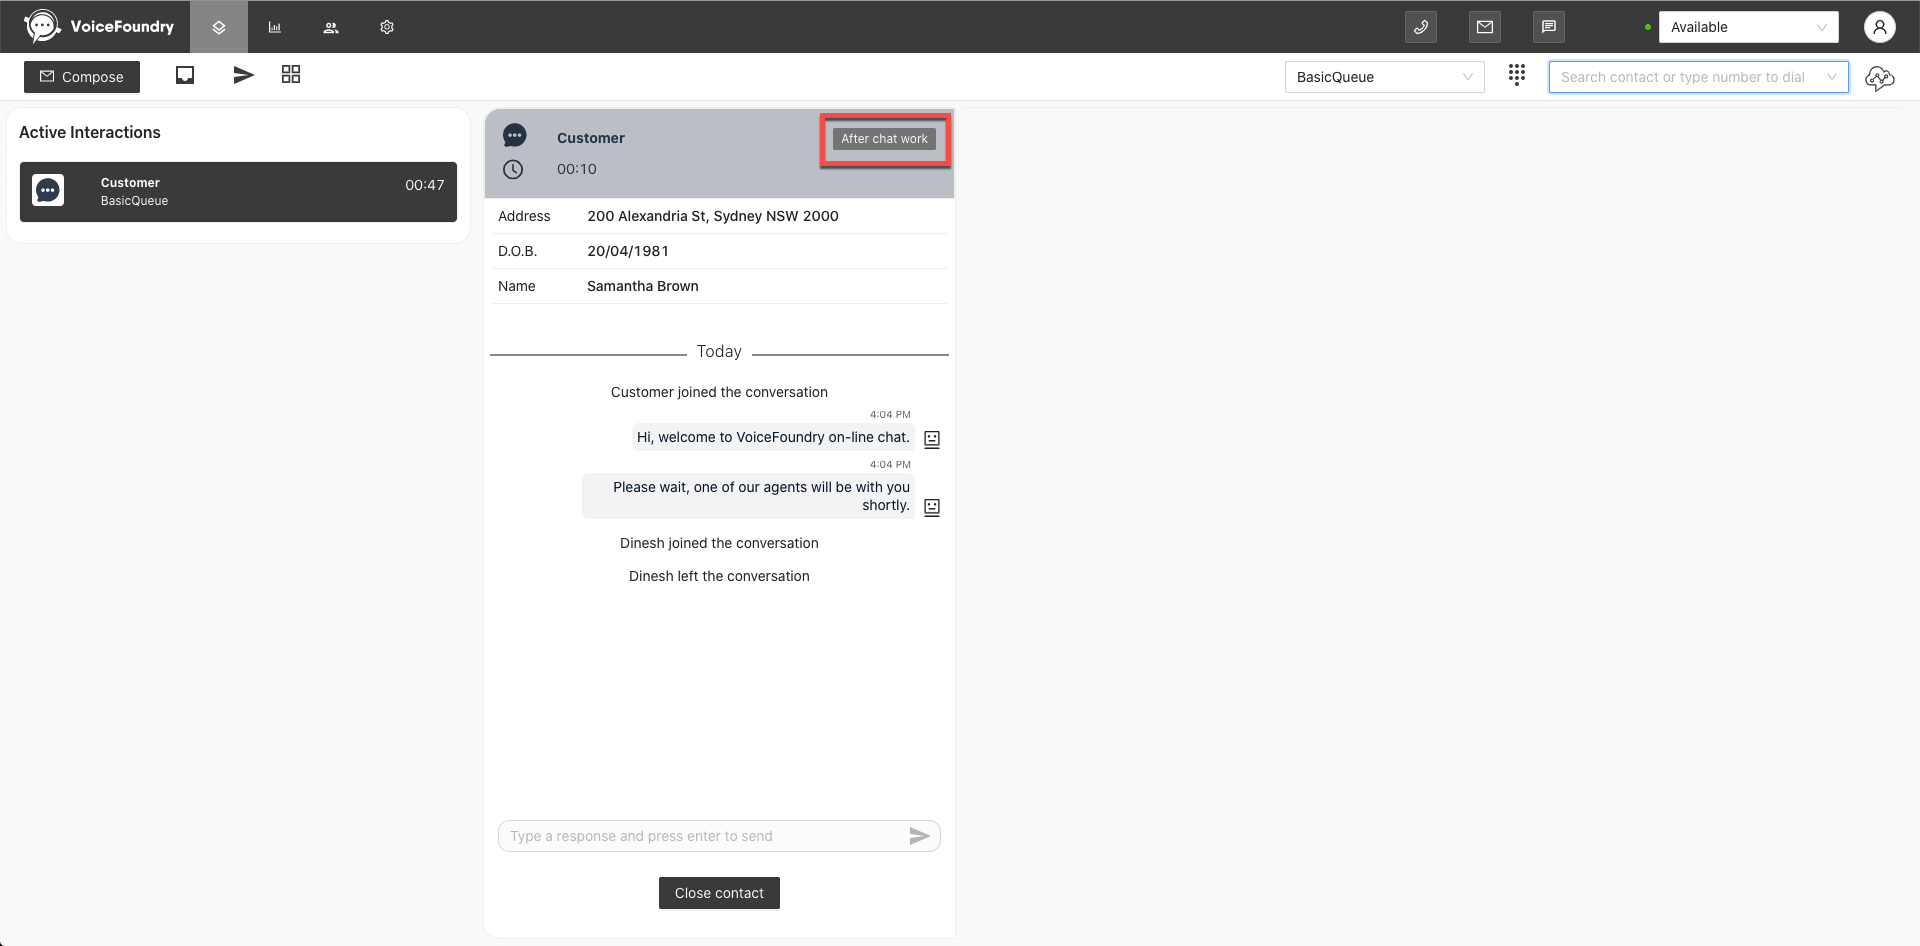
Once the customer has been successfully transferred through you will be automatically disconnected from the chat.
End a chat
To end a chat, click on the end chat button.
Chat notifications
If the Agent Desktop is not in focus on your device and you receive a message from a contact you will see the following notifications:
Notification within tab
Displays a number counter within the browser tab showing total unread chat messages for all contacts.

Notification within interaction card
Displays a badge within the interaction card showing total unread messages for that contact.

Browser notification
Displays a browser notification for each message sent from a contact.
Note: you will need to first enable browser notifications on your device.

