Message templates
Email templates
Email templates that are uploaded to the Agent Desktop can be added to emails that are being sent by agents.
Add an email template
To add an email template, go to Admin > Message templates.
Within the tab called Email templates, click on Add email template.
Enter or select the following details:
Name.
Description (optional).
Content.
Click on Save.
Edit an email template
To edit an email template, go to Admin > Message templates.
Within the tab called Email templates, click on the name of the email template you want to edit.
The following fields can be edited.
Name.
Description (optional).
Content.
Click on Save.
Remove an email template
To remove an email template, go to Admin > Message templates.
Within the tab called Email templates, select the checkbox next to the email template you want to remove and click on Remove.
A modal will appear confirming you want to remove the selected email template. Click on Remove.
Remove multiple email templates
To remove multiple email templates, go to Admin > Message templates.
Within the tab called Email templates, select the checkboxes next to the names of the email templates you want to remove and click on Remove.
A modal will appear confirming you want to remove the selected email templates. Click on Remove.
Export email templates as a .csv file
To export a .csv file of all email templates, go to Admin > Email templates. Within the tab called email templates, hover over the ellipsis icon and click on Export CSV.
Chat templates
Chat templates that are uploaded to the Agent Desktop can be added to chat messages that are being sent by agents.
Add a chat template
To add a chat template, go to Admin > Message templates.
Within the tab called chat templates, click on Add chat template.
Enter or select the following details:
Name.
Description (optional).
The following variables can be used - {{customer}}
Agent hierarchy: Required if the agent hierarchy feature is enabled in your account.
Category: Assign your template to a category.
Content.
Click on Save.
Edit a chat template
To edit a chat template, go to Admin > Message templates.
Within the tab called Chat templates, click on the name of the email template you want to edit.
The following fields can be edited.
Name.
Description (optional).
The following variables can be used - {{customer}}
Content.
Click on Save.
Remove a chat template
To remove a chat template, go to Admin > Message templates.
Within the tab called Chat templates, select the checkbox next to the name of the chat template you want to remove and click on Remove.
A modal will appear confirming you want to remove the selected chat template. Click on Remove.
Remove multiple chat templates
To remove multiple chat templates, go to Admin > Message templates.
Within the tab called Chat templates, select the checkboxes next to the names of the chat templates you want to remove and click on Remove.
A modal will appear confirming you want to remove the selected chat templates. Click on Remove.
Export chat templates as a .csv file
To export a .csv file of all chat templates, go to Admin > Message templates. Within the tab called chat templates, hover over the ellipsis icon and click on Export CSV.
Template categories
If you have a large number of templates it may be beneficial to add a category to each template. Doing so will allow agents to search for templates by category rather than having to scroll through the entire list. Categories can be added to both email and chat templates.
To configure your template categories:
Go to Admin > Message templates, then click on the email or chat tab depending on which channel you want to add a category to.
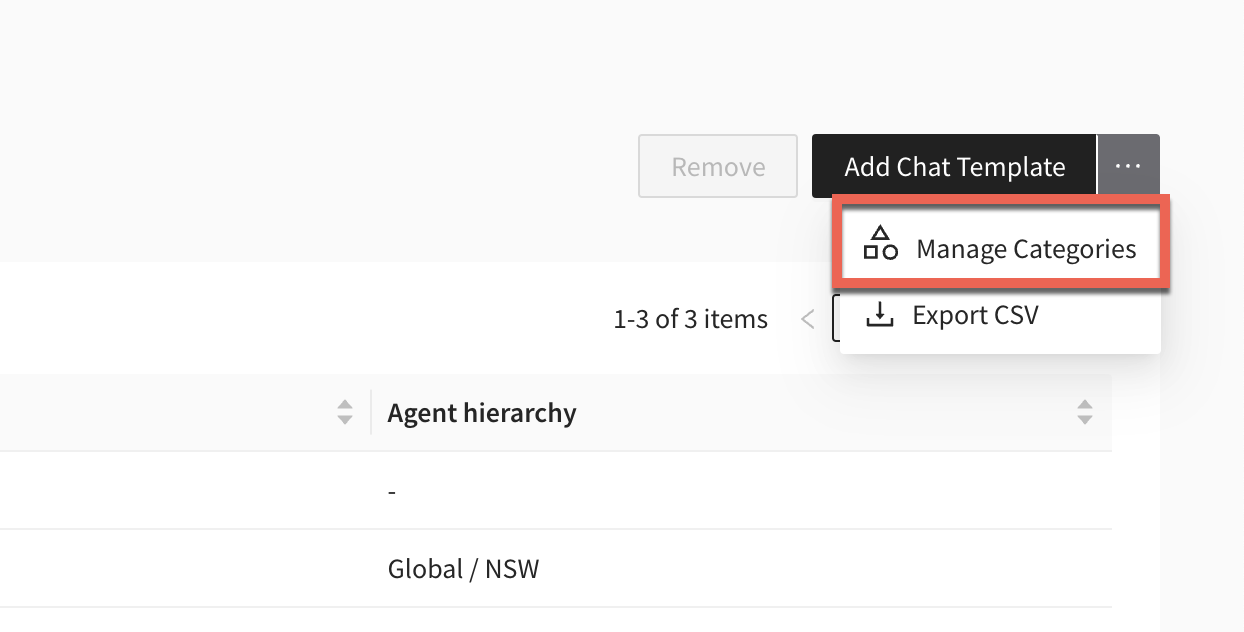
Hover over the ellipsis icon and click on Manage categories.
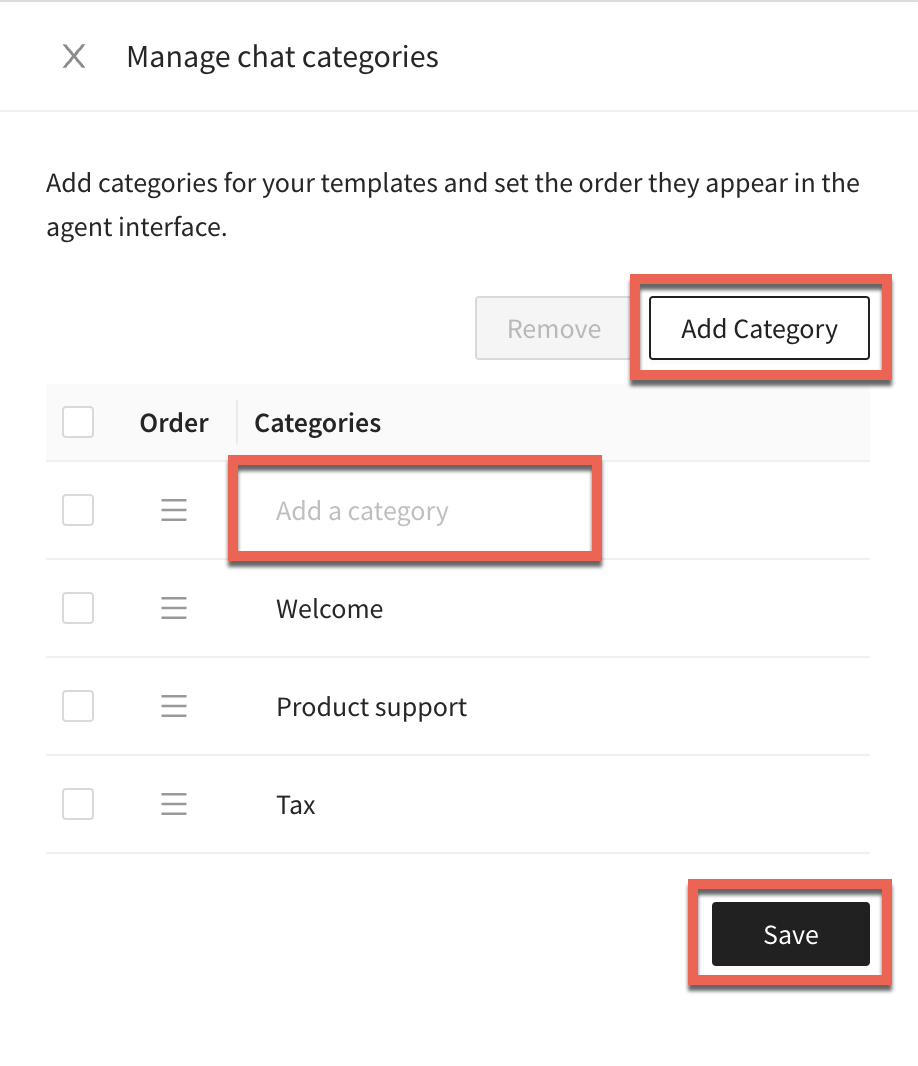
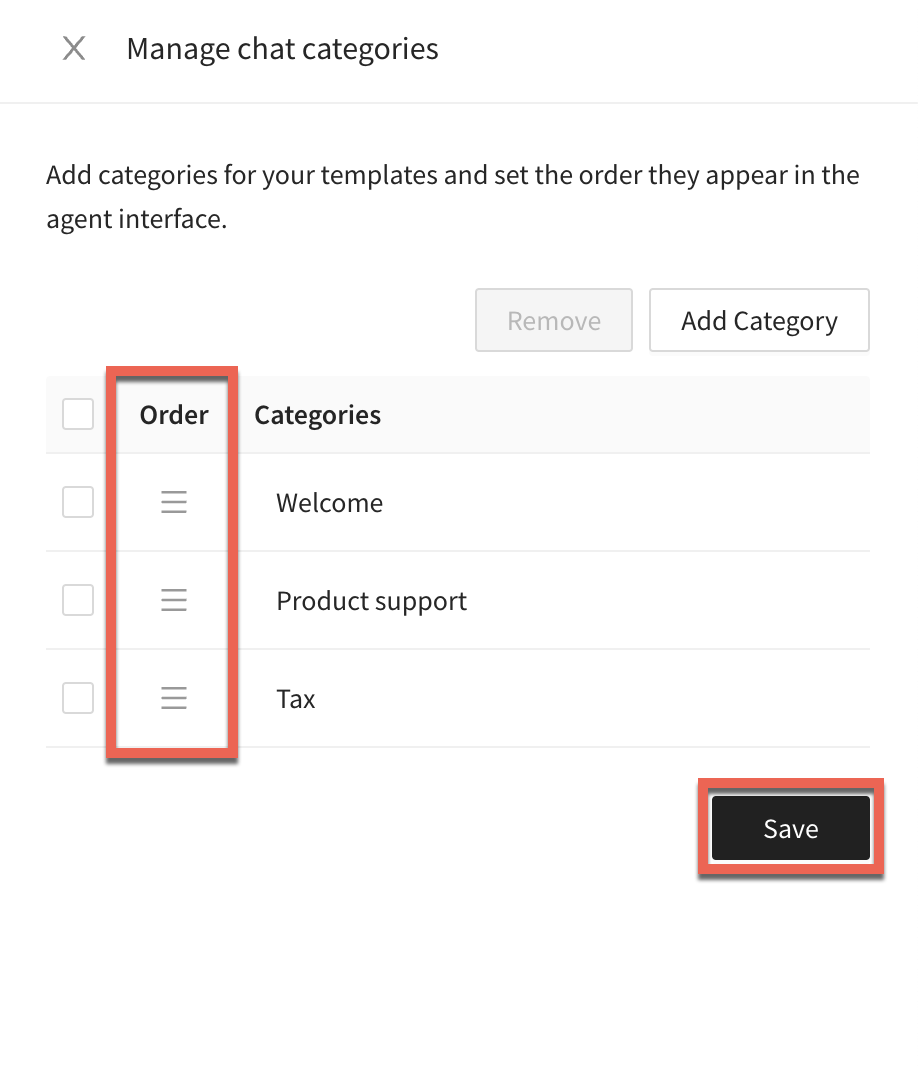
Add a category
To add a category, click on Add category, enter a category name then click on Save.
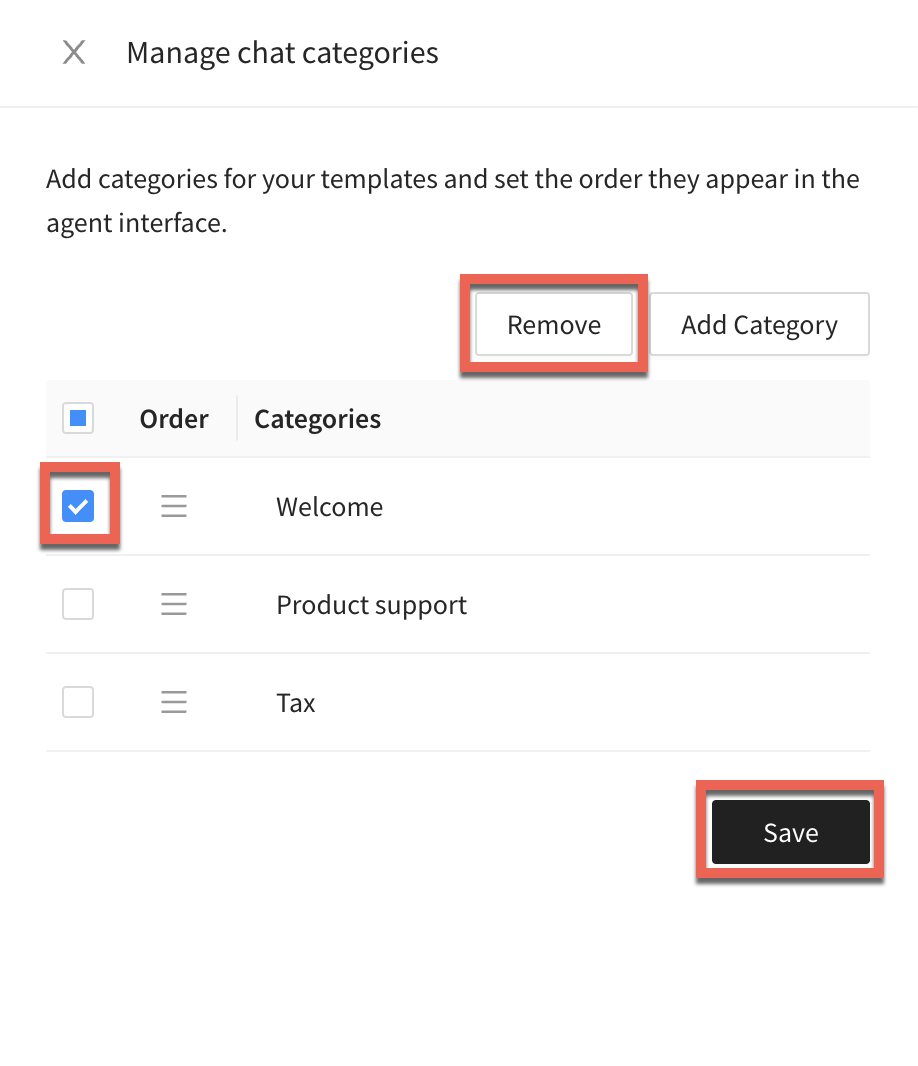
Remove a category
To remove a category, select the category you want to remove, click on Remove then click on Save.
Reorder a category
To reorder the list of categories click on the drag icon next to the category, drag it to the appropriate position then click on Save.
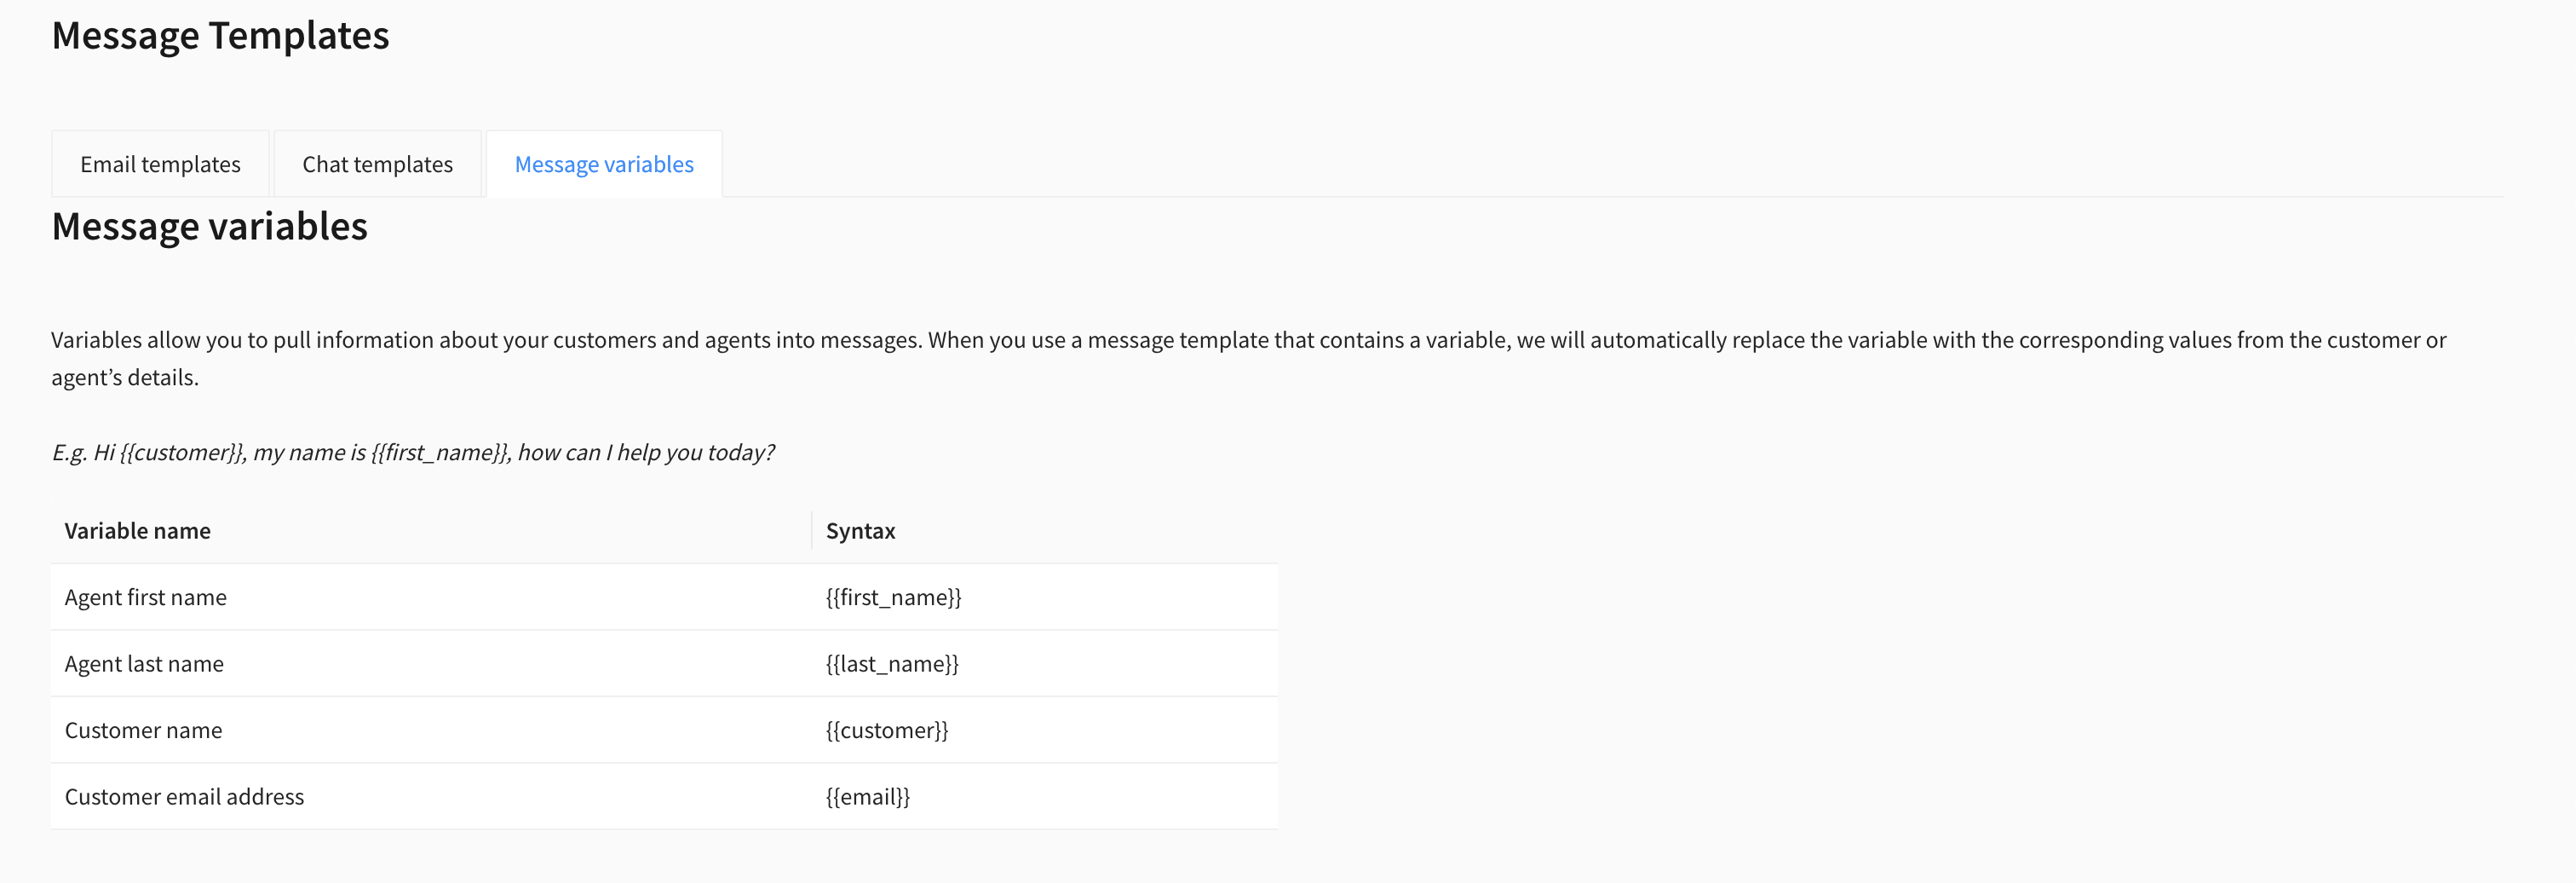
Message variables
Variables allow you to pull information about your customers and agents into messages. When you use a message template that contains a variable, we will automatically replace the variable with the corresponding values from the customer or agent’s details.
To use a variable simply insert the syntax of that variable into a template. To see the full list of variables, go to Admin > Message Templates and click on the Message variables tab.